Hamilton Drywall Contractors for Beginners
Wiki Article
Drywall Installation Fundamentals Explained
Table of ContentsSome Known Incorrect Statements About Drywall Company 3 Easy Facts About Hamilton Drywall Repair ShownThe Definitive Guide to Hamilton Drywall InstallationExamine This Report on Hamilton Drywall RepairThe Best Strategy To Use For Drywall Installers Hamilton
Installing drywall is not brain surgery, however it will go much faster as well as look far better if you discover the fundamentals prior to you begin (as opposed to after you're done). Drywall is just one of the easiest-to-use as well as most affordable construction materials on the planet. Even a major mistake will make you chuckle, knowing you've thrown away little time and possibly much less than 5 bucks.We'll reveal you the methods and also devices the pros use to obtain the drywall work done quickly and in a manner that makes taping as painless as possible.
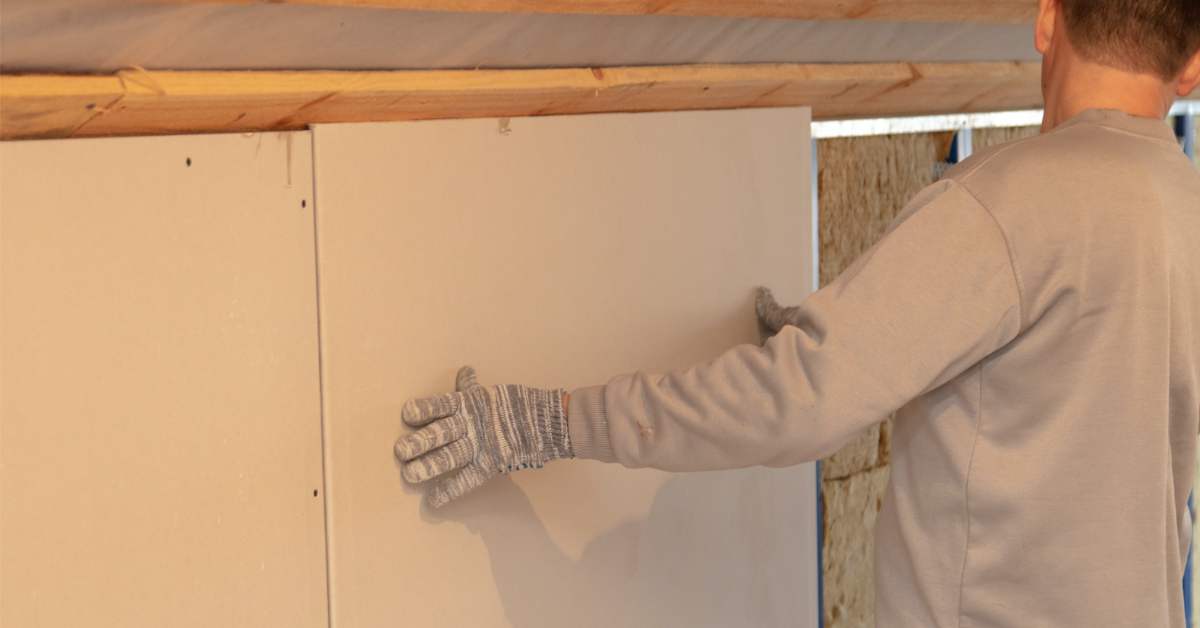
Puncture the paper backing to eliminate the waste. To help situate where screws will certainly walk around the room, note the top plate at all locations where strapping or joists converge the wall surface. Photo by David Carmack With an assistant, lift the very first panel right into one corner of the ceiling (Hamilton drywall repair).
As the aide holds the panel, drive 5 screws, evenly spaced, straight throughout the panel's size and also into the joist or strapping closest to the middle of the panel. Use the marks on the top plate to assist line up the screws. Keep screws at the very least inch from all sides.
Hamilton Drywall Installation Fundamentals Explained
Continue the row in exact same style up until reaching the opposite wall. Idea: Include a screw next to any type of screw head that damages the paper.
Mark that panel end where the tape step satisfies it and tape-record the distance. Cover package with another panel, and connect it as in Step 3; do not drive screws any type of closer to package than 24 inches. From the mark on the last installed panel, ration onto the new panel the exact same variety of inches recorded previously, and also mark the spot with an X.
Use a tape measure to make certain the very first panel's end will certainly land in the center of a stud; if it won't, reduced the panel as symphonious 2. With a helper, hold the panel against the studs to make sure that one side butts against the ceiling panel and also one end fits snugly versus the abutting wall.
The Best Strategy To Use For Hamilton Drywall Repair
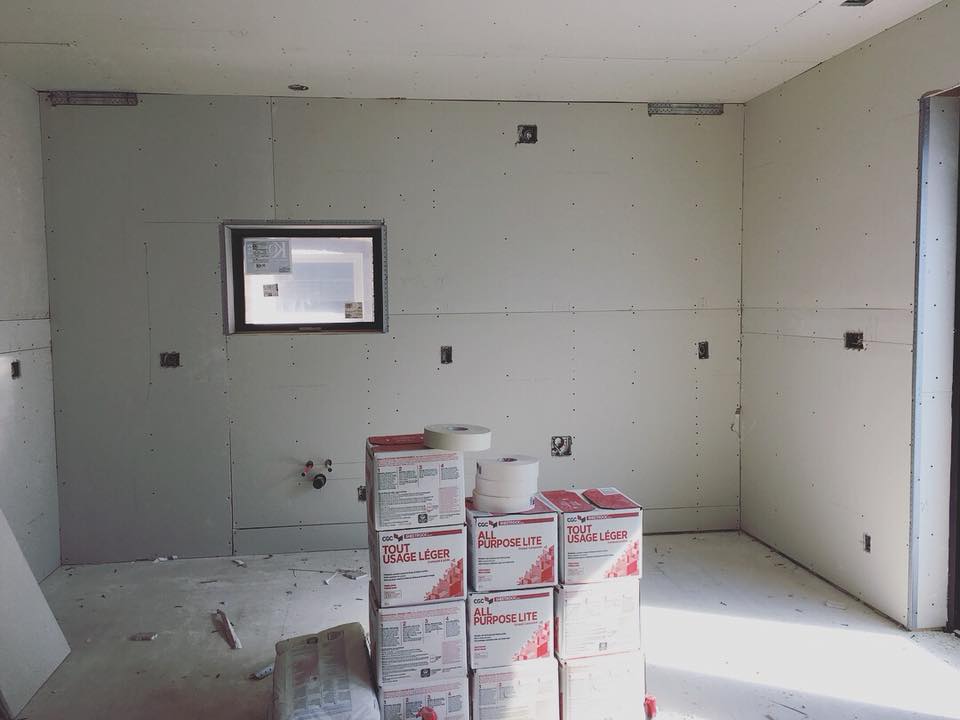
As in Step 3, begin screwing right into a stud near to the middle of the panel as well as job outward. Proceed hanging panels along the top of the wall surface, right over any home window as well as door openings. (The excess will be cut later.) See to it no seams associate a door or window edge.Do not screw panels to the mounting around the openings yet. Remove the button and also outlet boxes complying with the same procedure as with the ceiling boxes in Step 3: Mark package areas before covering them with drywall, making sure local home remodeling contractors not to drive any kind of screws closer to every box than 24 inches.
Overlap this subjected end with the panel on the adjoining wall, to make sure that the edge is totally enclosed in drywall. (With blueboard, the panel finishes do not overlap at outside edges; their ends land flush with the edge of the stud. This gap will certainly be filled up later on with plaster.) Cover outside corners with a metal corner grain, reduced to the height of the wall surface.
Secure the bead with 1 -inch drywall nails, hammered every 10 inches through the perforations in each leg to make sure that the legs are visit this site tight to the wall surface and the edge is not misshaped whatsoever. Do the exact same on the adjoining wall. Picture by Gregory Nemec Drywall specialist Paul Landry presumes that woodworkers frame wall surfaces so they are flat as well as straight.
The smart Trick of Drywall Installation That Nobody is Discussing

On outside walls, it's uncommon to discover a stud that bows into the area, since the sheathing holds it in area. When Landry does, his only option is to power-plane the side of the stud back into positioning. Image by David Carmack After all the drywall has been set up, look for sticking out screw heads.
POST a CONCERN or COMMENT about the very best methods made use of to install or hang drywall How to hang & complete drywall: This post explains tips and techniques that aid adhere to the ideal practices when setting up drywall in buildings. We define the kinds of drywall as well as where each kind need to be made use of - drywall installation.
We also provide an ARTICLE INDEX for this topic, or you can attempt the page see this website top or lower SEARCH BOX as a fast method to locate details you need. This write-up collection talks about as well as provides a best building methods lead to the option as well as installment of building indoor surface materials, carpeting, doors, drywall, trim, floor covering, illumination, plaster, products, surfaces, and also seem control materials.
The Definitive Guide for Hamilton Drywall Repair
The contractor or designer can play an essential duty in assisting the house owner pick surfaces that are fit to the planned use, along with offering the structural support and preparation function the materials need for excellent performance. Single-layer, 1/2-inch drywall is the default wall and ceiling therapy in many household building.
Report this wiki page